
What are
/r/Vintagetools'
favorite Products & Services?
From 3.5 billion Reddit comments
The most popular Products mentioned in /r/Vintagetools:


The most popular reviews in /r/Vintagetools:
I own one.
Mechanical Heavy Duty Nut Cracker, Pecan Cracker Walnut Cracker Plier Opener Tool, Desktop Wood Base & Handle https://www.amazon.com/dp/B07XJB5M44/ref=cm_sw_r_cp_api_glt_fabc_DVTQ5WDE8Z1JSXZ51ZDY?_encoding=UTF8&psc=1
It looks like it's just a bit retaining socket for 8mm shank bits.
Here is the first thing I found searching for 8mm hex bits: Amazon
The 8mm shank may be more commonly used for impact bits, but that's just a guess based on the descriptions I was seeing in the search results.
I use Mothers metal polish for final shine. Just a little lasts for ages. You can expect a pretty good shine on metal after getting it up to 400-600 grit. I typically go up the grits from 120 to 2000, and then hit it with some polishing compound and that'll get you to a mirror finish.
If you're using a buffing wheel, some wax-based general purpose buffing compound will be good for removing the scuff marks from sanding, prior to polishing. And if you're not after a chrome-like mirror finish, that may well be enough for your liking.
I'm jealous of that Delta. I use a product called zoom tubes on ceiling fan bearings, not sure if it'll work here but worth a shot. Can't find the oilers like I have a bunch of,got it from Grainger usually, but same product, good for electric motors. https://www.amazon.com/Norvey-Zoom-Spout-Lubricating-Oil-ZS75A/dp/B000HACY3Y
Something like this would work great. I have an old Craftsman drill press and it bothers me to have the power switch being a little toggle switch in the back.
https://www.amazon.com/Rockler-Safety-Power-Tool-Switch/dp/B001DT13B2
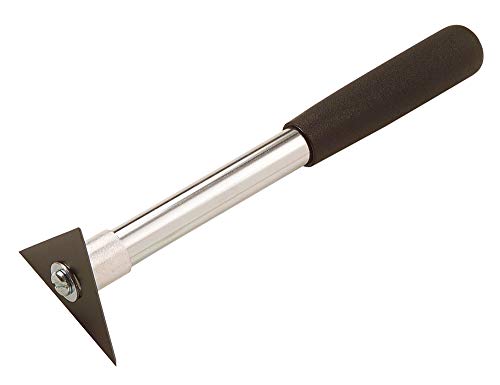
Nope. Roofing shovels are more like a giant scraper, and have a large serrated edge, like this. Roofing Shovel
Here is what I do. 1. I take a flexible putty knife and scrape off the surface rust.
If you are lucky and that gets most of it I would use some 600 grit paper and a random orbit sander to sand the surface. That fined of a grit will not change the flatness.
If you are not that lucky. I use some 400 grit wet or dry paper (the black stuff) and some WD 40 and I hand sand the surface using a block of wood. Once I got most of it clean I would wipe it down and use the 600 grit paper.
Apply a layer of SC Johnson's paste wax in the yellow can. It is solvent based rather than water based like a lot of car wax compounds. If you are going to use it soon apply the wax let it dry and buff it off. If the tool will sit for several weeks between uses apply the wax let it dry and buff it off just before you use the tool.
I finally know this one.
https://www.amazon.com/Gripper-Stainless-Non-Slip-Crockery-Lifting/dp/B092H7N1S6
We used to put food on glass plates and steam it. The plates get really hot and you couldn't touch it. So used this claw to lift the plate.
Tallow was also used back in the day as a rust preventive on steel tools; indeed, you can buy it today for that and other purposes.
https://www.amazon.com/McQueens-Mutton-Tallow-Flande-Carnero/dp/B01N096GFA
Shipwrights use it for protection against salt water corrosion; a buddy had a wooden boat business and he turned me on to it; a very little goes a long way....
It's a Craftsman (King Seeley) 103.23130 or possibly a 103.23131. The speed reducer is baller, and it's needed as you have a 1hp motor on this. They usually came with 1/2hp and occasionally a 3/4 HP motor. The wiring is to offer forward/reverse most likely. It's worth keeping if you can box it off so it's a little safer. I'm restoring a similar benchtop and floor model right now, and am happy to help with any Qs you may have. Before you get too far into it, I'd suggest you pick up an alignment gauge to check your spindle runout. If it's bad, it's probably not worth redoing. Out of the gate, I'll tell you the only real hard part is replacing the bearings. You'll need about 4-5 gallons of evaporust, 3 cans of spray paint - Rust-Oleum/krylon fusion smoke gray is about as close as you'll get, and depending how crazy you want to get, about 8 hours on a buffing wheel. If you're going to do the column to a mirror finish, it will take a bit longer.
The post on garage journals is great. I'd HIGHLY recommend watching the YT vids from "small town machine shop" to disassemble. The way the seperated the quill, upper pulley, and top two bearings is MUCH easier than the way it is outlined in GJ.
Your missing the table lock. I may have one if you need it.
Here's the manual if you don't have it yet.
http://vintagemachinery.org/pubs/detail.aspx?id=16374
Feel free to reach out if you want to discuss! alignment gauge
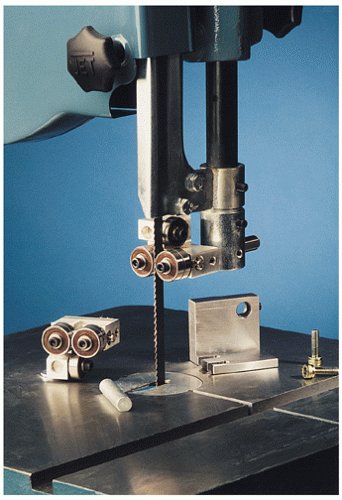
Can’t advise on the age I’m afraid, but in terms of reshaping the quickest way would probably be a wet slow grinder or bench belt sander if you have either.
In the past I have also made a jig with a file strapped to a broom handle... it’s a bit laborious but it works.
You place the blade flat facing you, and clamp it down. Place a couple of planks of wood behind it (stacked on top of each other) so the planks are parallel to the blade.
You can then place your file on the bevel, and the broom handle on the blocks of wood and work the edge. The handle and blocks ensure you’ve got a constant angle all across. You can move the blocks closer or further away from the blade dependent on the angle you want.
Kind of like a home made version of this.
Here is a plate lifter on Amazon. Different design but a step in the right direction. Good luck!
You could probably just order bar stock on amazon and make them yourself.
Just as an example, you can probably find something 3/4x1/2 if you look
Leecraft CR-2 Sears Older 10-Inch Belt-drive Zero Clearance Table Saw Insert (Colors may vary) https://www.amazon.com/dp/B0002898B2/ref=cm_sw_r_cp_apa_i_1EGmCbH2F0XD2
That's what I used on my Craftsman saw. Make sure you get a set of the micro jig splitters for which ever kerf blade you use.
Also you can check on ereplacementparts.com
You can get pulley's from this place. http://www.in-lineindustries.com/products/pulleys-belts/