
What are
/r/Volvo240's
favorite Products & Services?
From 3.5 billion Reddit comments
The most popular Products mentioned in /r/Volvo240:


The most popular reviews in /r/Volvo240:
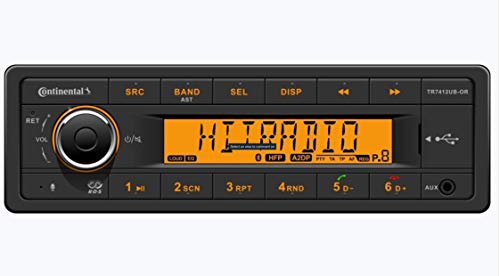
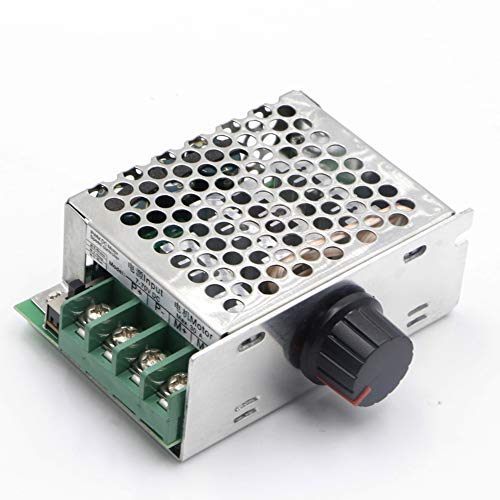
Sure, you should be able to use a PWM controller with the blower motor.
Your other post said you have a '77 244, which should have a 16A blower fuse; so that 10A controller might be enough, but I'd probs grab one that can do 20A+ for some margin. Something like this
A note that a lot of those cheapie Chinese speed controllers aren't super durable, and between vibrations and the fairly hostile electrical environment of an older car you might not get a ton of life out of one.
For less than $20 it might be worth a shot though, if you search "car blower motor, PWM" you should get a few walkthroughs.
Tbf probably not THE MOST safe thing, but I've done it both ways, and recommend doing an impact bit by bit on each compressor. I've used hand tools, and as the other commenter said, you probably have a literal ton of pressure. With hand tools it's gonna take you probably the better part of an hour to achieve that ton of pressure by hand and is gonna wear you the hell out.
If you have an impact, I'd say use that, just do each side bit by bit, less than a second on one side before switching to the other. It'll take less than 10 minutes for a side. Just make sure to be extra careful when taking them off the spring, too. It's a lot easier to decompress them, so make sure to go EXTRA slow, and keep the spring from bowing to one side or the other.
I've done 3 strut replacements, other than a head gasket and blower motor it's probably the worst job on the car. Just take your time, make sure you know what you're doing. Take it slow and one step at a time and you'll be set.
The good news is, once you get one side done you'll be an expert by the time you get to the other!
Oh, the hardest part for me the first time was actually the "gland nut" that holds the strut itself in its tube. If you get a 4x4 hub lock tool from Autozone or the like, it fits perfectly:
https://www.amazon.com/CTA-Tools-4170-Bearing-Locknut/dp/B00LSGDEI0
Something like this. Mounts to a 1/2 wrench then put the biggest breaker bar you can on it. The one I found had 4 of the little "teeth" on it, on my 90 sedan the gland nut had 4 indentations for the teeth. On my 88 wagon it only had two, so I shaved off two of the teeth with a dremel. Should work for you either way.
Good luck!
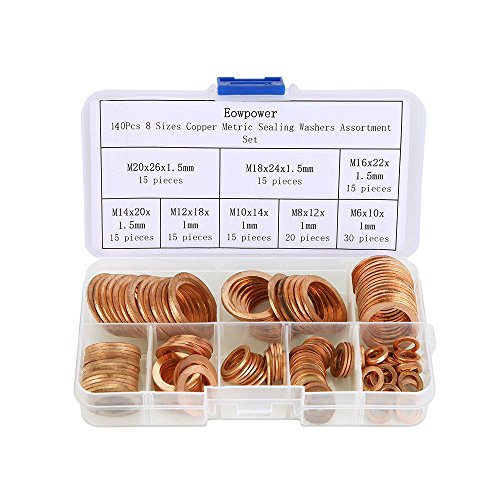
I’m not sure if the measurement is correct, but if it is, here’s a kit on amazon that inlcudes that size.
Eowpower 140Pcs 8 Sizes Copper Metric Sealing Washers Assortment Set https://www.amazon.com/dp/B01N2WHZ13/ref=cm_sw_r_cp_api_glt_i_YYF8E120KP1TPWKMPQ7Z?_encoding=UTF8&psc=1
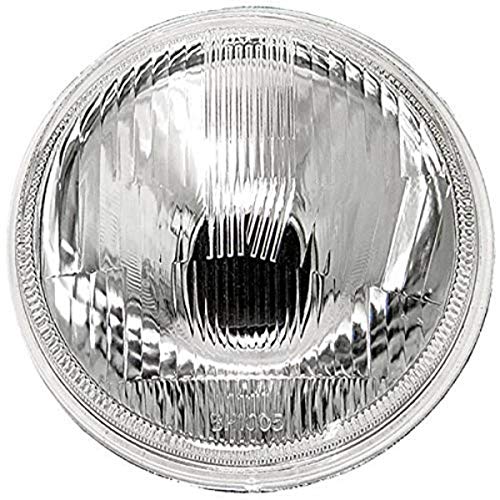
Headlights: IPCW CWC-7006 7" Plain Round Conversion Headlight - 1 Piece https://www.amazon.com/dp/B001OMEPEU/ref=cm_sw_r_cp_api_glt_i_6B9R3TB1ZWBTH6JBDQ96?_encoding=UTF8&psc=1
9007 to h4 converter: Fontic 9007 Male to H4 Female... https://www.amazon.com/dp/B01JFO2VIK?ref=ppx_pop_mob_ap_share
Note: I started off using an exterior plastic specific paint for the project, but for some reason it would crack upon drying. I ended up switching over to your normal rustoleum primer and paint which worked great. Remember to clean/scotchbrite lens/housing before painting.
Most projects I’ve seen like this use 7” round lights so that’s what I went with as well; however, they were a pain in the ass to squeeze into the housings. If you look to photo 2 you can see I made 3 cuts. 1 for the rear h4 end to fit through the housing and the other 2 were on the top and bottom which allow the light to snap into place and adds as an extra locking method for the lenses.
I also cut the oem lenses to allow a ‘flush’ look to the grill and bumper, rather than having a open gap.
I really enjoyed this project and liked the way it turned out. My aim was to go for a 70’s 240 look (that’s why I kept it glass/halogen and not LED) and I think it worked! it was fairly easy too, if you have a Dremel.
If you have any questions, let me know!
Volvo 240 Service Manual 1983, 1984, 1985, 1986, 1987, 1988, 1989, 1990, 1991, 1992, 1993: Dl, Gl, Turbo 240, 240Dl, 240Gl, 240Se https://www.amazon.com/dp/0837602858/ref=cm_sw_r_cp_api_glt_fabc_7JG4KCHM53QK90JB4F9Y
Ok so I forget if the bulb is 1156 or 1157 but take yours off and check - it will be stamped somewhere on the metal base of the bulb. This seller has everything I needed for mine
As far as the humidity goes, these nets on my doors with the windows rolled down were a game changer. Keeps fresh air flowing into the car and bugs out, highly recommend it if you're sleeping in the car. We do a lot of backpacking and regular camping, so we invested in some nice sleeping bags that keep us comfy down to about 30F. We also live in southern California, so were rarely encounter ourselves in temps below that.
I use 2 backpacking inflatable (for me and my partner) sleeping pads instead of an air mattress so we can still sit up and play cards or watch a movie in the brick cabin.
You're definitely right about the off-roading, these were fairly tame gravel roads, I had to stay off of a lot of roads unfortunately due to clearance issues. How awesome would this be though? Very impractical for day to day driving yes, but probably killer on the trails.
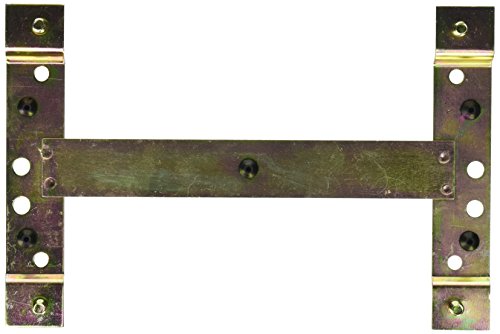
I just had this problem, if you can get a screwdriver that fits, you can pull on the bracket while turning the screwdriver so it catches. I got this license plate bracket but had to get 2 of my own bolts and nuts on the back of them https://www.amazon.com/gp/product/B01CGNXP2I/ref=ppx_yo_dt_b_asin_title_o00_s00?ie=UTF8&psc=1