
What are
/r/AutoPaint's
favorite Products & Services?
From 3.5 billion Reddit comments
The most popular Products mentioned in /r/AutoPaint:


The most popular reviews in /r/AutoPaint:
Krylon Automotive Sandable Primer, White, 12 oz, KA8646007, White Sandable Primer https://www.amazon.com/dp/B087X9DXGT/ref=cm_sw_r_oth_api_glt_fabc_C6SWW7PEJXEQNRP3RM7J
No worries brother, happy to help
Thanks for the replies - I was using Hycote Matt Black, I'm not sure if its single stage or not:
But I've found this matte clear coat with good reviews so I will apply a layer or two for protection:
They're selling the 2882 with the fast hardener for $52 right now! 2882 is the gallon size clear, I can't find it anywhere else cheaper. I'll buy the slow hardener separately. Still cheaper that way.
You want a smaller tip on clear, less material so it atomizes better. 1.2 to 1.4mm tip.
SPRAYIT SP-33000 LVLP Gravity Feed Spray Gun
https://www.amazon.com/SPRAYIT-SP-33000-LVLP-Gravity-Spray/dp/B004DXUXN4
There are 3” polishers and pads out there you can buy. I’m not sure what your project looks like, but if you can’t reach it with the polisher you have, you either do it by hand, or get a smaller polisher.
One of those wheel polishers that go into a a drill might work too. You can also get a 3” set with a pad that will go into your drill on Amazon. I tried to ad a hyperlink, but Reddit won’t let me for some reason.
Amature here as well so I may not have the "right" process but there is a few options to get it cleaned up so it isn't as noticeable but really only one will give a like new look. The damage looks like a gouge to either primer or an undercoat so cheap and easy is fine filler and pencil touch(with these not touch up pens ) it won't be perfect but it's cheap
The way I was shown to get a proper finish: Sand down the immediate area and feather it out until you cannot feel any edge this can mean going as far as primer at the actual damage site with transition of layers spread about 2cm apart so as to avoid a line showing up 2 weeks later. I'd use our smaller Ville gun for color almost airbrush sized and the other bigger gun we have for clear.
The fun part is working out how far to take sanding back the clear because some cars rear guard/wheel arch and C pillar are all connected. For myself I'd carefully 800 wet sand the entire rear guard, wheel arch and and if it's a vehicle with the rear guard flowing up C pillar into the turret with no panel gaps probably 1200 wet or Scotch pad W/scuff stuff from the top of the window to 30% of the vehicle length and lay softedge tape to keep the blend smooth.
It's a funny thing repairs because the cost for a small thing like that will cost the same as doing an entire bumper repaint at least by my old guys prices
So this is the first two filters I use - 1) Campbell Hausfeld Air Cleaner/Air Dryer for Air Tools (PA208503AV) https://www.amazon.com/dp/B0009KN9T0/ref=cm_sw_r_cp_api_i_H9XR4HFDJ5SW8KHV1JCT?_encoding=UTF8&psc=1
And then I basically just appended a third one afterward to make sure I got as clean of air as possible. The last filter wasn’t super expensive but since I use a shitty portable compressor that spews oil and water I wanted to make sure it was clean. The last filter is here: 2) NANPU 1/2" NPT Compressed Air Line Filter, 5 Micron Brass Element, Bracket, Poly Bowl, 145 psi https://www.amazon.com/dp/B082TMPXQR/ref=cm_sw_r_cp_api_i_B2TH9XKRR2QW2FWH37RX?_encoding=UTF8&psc=1
Hopefully this helps you or others!
Thanks. I'm eying up this: https://www.amazon.com/gp/product/B071LJT6KF/ref=ox_sc_act_title_2?smid=A10111992WJRYRFBZH9IS&psc=1
You're probably going to want to use something like a 2k clear.
I'd let it cure for a while, sand it all down to base (touch it up if needed) and get clear with a catalyst if you're going to use a can.
These spray a little better than your standard rattle can, and the clear itself will cure/harden. You'll probably need 2-3 cans for something this big. You want to keep a wet edge and overlap on the passes so you don't get those tiger stripes you're seeing there.
Compressor and a cheap gun is prob. the most efficient way to go but I know not everyone can do that.
Thats such a generic clear, i personally wouldn’t use that. Theres very little technical information on that product from what i can see and its a 1K clear meaning it has no hardener.
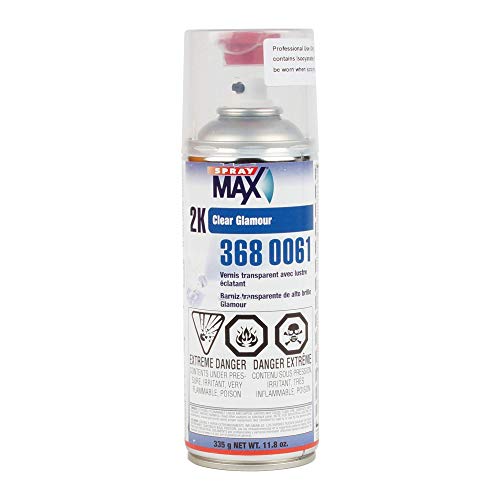
I would reccomend Spraymax 2K Glamor Clear its a little more expensive but its a brand that takes axalta automotive liquids and cans them with a spray tip that mimics a gun. Its also 2k so it has a hardener to make your clear stronger. But beware once you activate it you have a limited time to use it before it hardens in the can.
tds for spraymax clear i linked this one also has a good TDS. Id use this and wait about 15 minutes between coats at 70 degrees and 50% humidity.
If you want to use the dupliclear id guess you could safetly recoat around 10-15 mins but i couldnt find the proper info on that product.
Hey I'm in similar skill level/budget as you.
I went with this Astro spray gun which had excellent reviews from Paint Society on YouTube. Way better than the HF and doesn't cost an arm and a leg. As far as paint goes, I went with the kit from the coating store however don't be like me and cheap out and get the medium reducer and hardener. Go for slow always. If you need help setting up or prepping hit my DMs
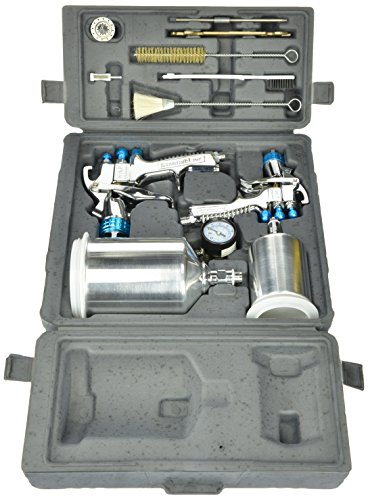
Thanks for the reply. What do you think of something like this devilbliss set? https://www.amazon.com/DeVilbiss-802342-StartingLine-Gravity-Spray/dp/B000KSTFJO/ref=sr_1_1?keywords=devilbiss+spray+gun&qid=1648939084&sprefix=devil%2Caps%2C84&sr=8-1
Or would I be better picking specific guns from Devilbliss and getting appropriate tips that way?
The sun gun is a Meguiar's Sunlight3+
The shapes I ordered on amazon.
I don't recommend the other shape you see. I got them on ebay and the hanger requires being glued on. I tried super glue and liquid nails but both failed. Then asked the seller and they said "we use silicone". Haven't tried that yet.
I hope I don't sound like I'm arguing. Genuinely curious... after youtubing some 'how to blend clear coat' this particular product comes up:
https://smile.amazon.com/gp/product/B00G4Z0M26?
What you're saying makes total sense, but would something this work at all?
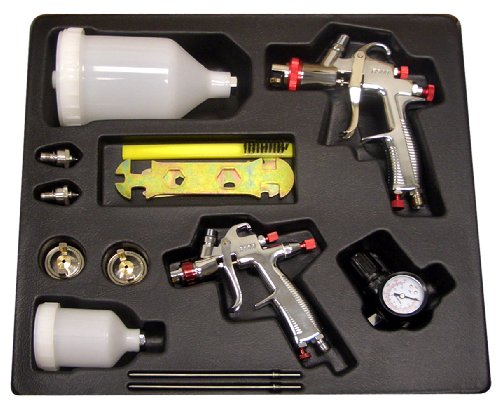
Hey guys I bought a used 60 gallon compressor to paint a couple cars. I’m planning on buying master pro 88 (https://www.amazon.com/dp/B08Y62XBGC/ref=cm_sw_r_cp_api_glt_fabc_Q9E7483TWMTPCV2XP31G?_encoding=UTF8&psc=1)
Only to have a size tip 1.3(base) and 1.8 (primer) all in one gun under 300. I watched a lot of videos and know what supplies I need to paint. (Sand grits, sander, ventilator,bondo, etc)
What I’m missing now is the attachment from the compressor to the gun. Does anyone know what size I’m suppose to have? And I think I need a filter. And oil for the compressor since the stick was low.
Do you have a flex additive? Something like this. Plastic isn't rigid but paint is, this allows the paint to flex along with the bumper making it less prone to cracking.
My Fiesta ST started rusting last year and I tried to repair it after sanding it down to bare metal but obviously that didn’t go as planned. I am looking to fully take off the bumper to get a proper go at it but would like to know what’s the best process. So far I was looking at this for a primer and this for a clear coat.
Here are my questions: Are these decent options?
Also what would be a good option for a base coat? The paint is a flat color (Oxford White) so I don’t think it’ll be hard to find options but don’t want something that’ll be ineffective.
Do I need to use body filler for something like this? And if so what would be a good one to go with?
Thanks for the help in advance.
For a recent backyard paint job, I used a diaposable tyvek respirator hood fed with indoor air using an air mattress inflator and 25 feet of corrugated plastic tubing. It worked much better for me than the full face mask I tried previously; It was comfortable and I couldn't smell any paint fumes at all when it was on. https://www.amazon.com/dp/B012D8NL2K
ok, being a guitar for your project, if this gun is for the metal parts, you may have a lot less mess and less air compressor size/noise with an airbrush... if its for the wood, I've got a self contained air gun that I painted some wood bunk beds with, worked great...
https://smile.amazon.com/gp/product/B071X9FZ7R/ref=ppx_yo_dt_b_search_asin_title?ie=UTF8&psc=1
comes with 3 tips, very easy to use... less mess, no air compressor... smooth finish if prepped right... you may want to check it out...
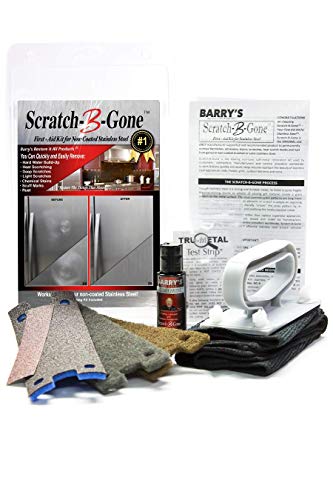
I've had great luck removing moderate scratches with this stainless scratch repair kit; basically some sanding pads and some sort of lubricant/sealer that helps the color match. Amazon link
I used this 2K primer and activator, and I'm pretty sure it's compatible with the Valspar basecoat I used.
Spraying the spots too wet could be part of it. My gun wasn't giving me as good a fan pattern as the last time I used it, even though I had the pattern adjustment screw adjusted as far as it would go and the various air holes all seemed to be perfectly clean. The gun is the Sprayit SP-30000.
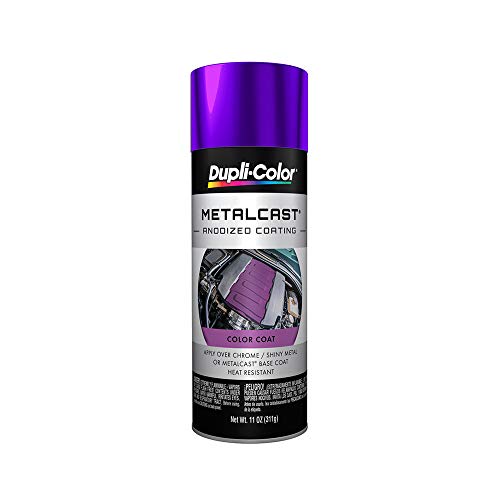
Ooo! This sounds amazing, by brush you mean paintbrush? I figure I gotta take everything apart and clean for sure, brush over spray tho? I saw an anodized purple online https://www.amazon.com/dp/B002NGPFFE/ref=cm_sw_r_cp_apa_i_Nh4EFb2ABZSVR would this be okay as a thin top coat or 2 over an already purple quality base?
Dumb question (used to be an avid mountain biker, but haven’t been around road bikes). Is that filler? Or some sort of brazing in lieu of welding?
If filler, try getting an abrasive paint/rust stripping wheel.
https://www.amazon.com/Remover-Remove-Oxidation-Abrasive-Grinders/dp/B07VBMK9JS
They are designed to take down soft substrates, but not be too harsh on the metal below. I’d go very easy with the style I linked, though, as I’m sure they could still cause some damage on an angle grinder. The ones we use at work have a little twist nub that slots them onto our die grinders, which have a little less juice.
Try amazon smile to donate to a charity of your choice automatically at no cost to you!
https://smile.amazon.com/dp/B002NGPFFE/ref=cm_sw_r_cp_apa_i_Nh4EFb2ABZSVR
^^^I'm ^^^a ^^^bot ^^^and ^^^this ^^^action ^^^was ^^^performed ^^^automatically.
I just got done using this guy. Not sure what Canadian availability is on Amazon. It did fine for me, I think it looks good. I'll also add, any deficiencies in my job are not a result of the gun, it's a result of my total lack of experience. :)
Here's a link to a potential option. 3M scotchguard is what I use. cut it to size and stick it on after making sure the paint is clean. It will come off nicely down the road if you heat it up.
You can try to compare color of your wheel with screen on your mobile phone. You can find that color code fast using this app:
https://play.google.com/store/apps/details?id=com.app.gevtech.rgbargbcolormixer
But don't do that direct on sunlight, because color is reflective. Try doing it inside your garage.
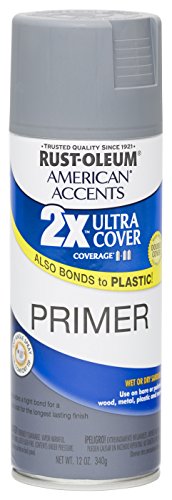
Wash everything down with soapy water first (even if it's new and doesn't look dirty). I'd replace the adhesion promoter with a good plastic compatible primer, I've had a few issues with Krylon primers and plastic, but this stuff worked great for me. Also, make sure you know what grits to reach for during the sanding process. You'll want to sand the primer at about 400-600, base coat 800-1000, clear coat 1000-2500. With dry times, make sure you know the paint's recoat window. Also, before sanding, make sure the paint is hard or it will gum up the sand paper and tear it off the surface you're painting.
Also, after clear coat you'll want to sand again, you will need some rubbing compound and polish for this step as well since sandpaper is too coarse to get the shine back.
I used this paint and this clear coat.
After applying a second layer of clear coat, I noticed there were two spots of what seems to be clear coat dripping. Do I just wait a day, wet sand it down with 400 grit and reapply a layer of clear coat?
Any help will greatly be appreciated.