
What are
/r/drywall's
favorite Products & Services?
From 3.5 billion Reddit comments
The most popular Products mentioned in /r/drywall:


The most popular reviews in /r/drywall:
Sorry, what does PL stand for (I'm guessing that's a type of adhesive)?
For the actual surround replacement, I'm leaning towards these interlocked waterproof tiles that are about 24x14: https://www.amazon.ca/Palisade-Shower-Surround-Adobe-Drift/dp/B09HL4KVKJ (using sealant between each of the tiles, and then finish the seams). I figured that is within my skillset to do DIY lol.
For the actual drywall though, I think I lack the tools and know how to properly inspect and replace that. I think I'd be better off contacting a professional to do that part.
Thank you for your time and expertise!
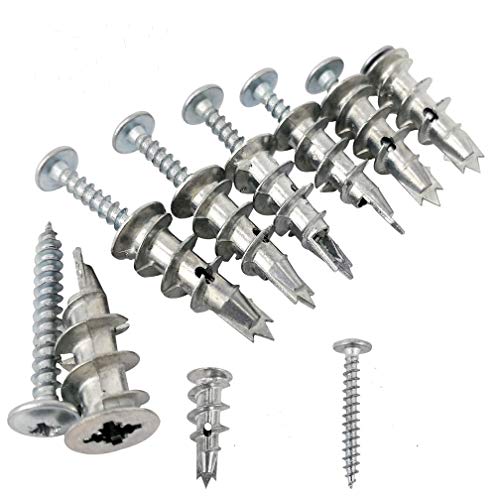
You can probably get some bigger anchors in there. Get the big metal ones.
Something like this should work.
Install a backer or drywall shims if you don't have a stud to screw in to. You can make your own of course...
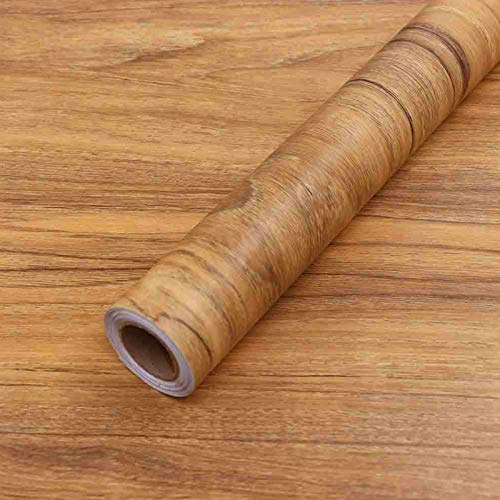
It's this one...called a tree bark texture roller.
You'll be much happier demoing the whole thing in the long run. As for removing the debris...this makes it much easier...
I'm certain the pros in this thread will shit all over it....but this thing works like a charm.
Zozen Drywall Cutting Tool, Foldable Drywall Cutter- Easy Ripper Drywall Cutting Tool | Drywall Cutout Tool, Drywall Cutter Tool with 10pcs Spare Blade. https://www.amazon.com/dp/B091DJTFBB/ref=cm_sw_r_apan_i_GPJP3KX72WFXPR9RYTX3
The finishing is following the drywall, and the drywall is following the framing.
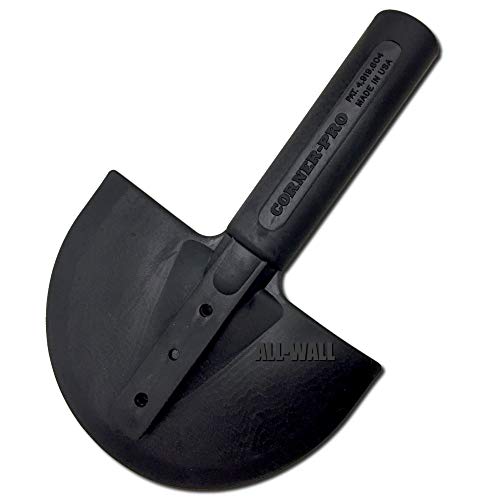
There is only one reasonable solution here that the typical DIYer is going to be capable of, and that's to turn that line into a cove.
Wash the walls/ceiling.
Prime. (Primer sticks to stuff. Mud sticks to primer. Mud does not always stick to paint.)
Get a rubber cove tool. Something like this:
And a bucket of light-weight pre-mixed joint compound.
You're going to fix the problem of the uneven line by burying the line under mud.
Run a coat of mud on the angle with the rubber cove thingy. Come back after it's dry and scrape off any ridges. Run another coat on. It'll probably take you three or four coats before you're done. Sneak up on perfection. Do not try to over-fill with plans to sand it off later.
When you're done mudding you'll use a sanding sponge to gently address any final ridges or transitions between mud and existing ceiling. Then prime and paint (I'd suggest a flatter paint) and you'll be good to go.
Is it just smooth finish around it??
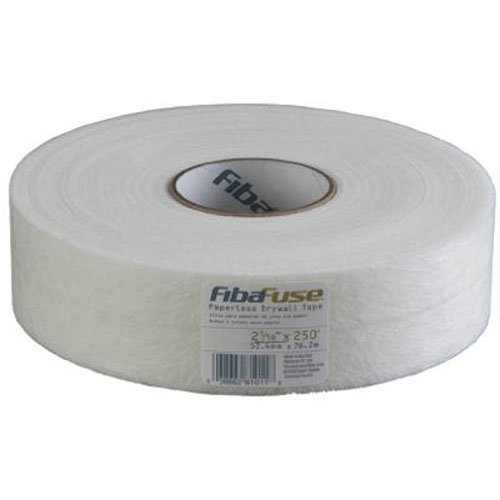
Ditch the mesh tape and buy some fibafuse. So much easier to work with and more durable.
You’ll need a 5 or 6 inch knife and a 12 inch knife. A mud pan and while you can do it by hand, a small mud mixer saves a bunch of time. My preference is stainless steel level 5 knives, but regular steel will work too, just dry them well after cleaning.
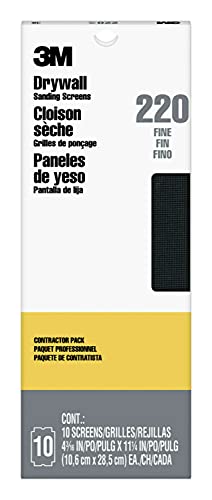
For sanding, a hand sander and 220 sand paper is all you’ll need.
These are pretty easy repairs….If you can get to the point you did, there’s no reason you can’t do the rest. Happy to help with a step by step if you choose to.
Yeah, if you're going to do this without fixing the framing you need to build out the fucked up side with compound. Sometimes both sides are fucked.
This is something that's usually way more of a pain in the ass than it's worth for DIYer and Pro alike. That's why we have these.
Before I remodeled my kitchen, I bought one of these. My walls were so bad I had to skim everything. It was cheap enough and was willing to risk the cost if it was at all convenient and it was. Very, very glad I got it but it's not without its own issues.
Connected to a powerful shopvac, it's amazing how much dust it removes - but there's a learning curve on how long to let it hover and when working ceilings, it gets heavy and that's when I started contorting into random shapes that caused some divots. You'll still need to use a sponge and pole sander for the corners, but I'm glad I have it.
If the tool produced results, I am fine with taking a hit at the end. I'm trying to save time and aggravation. Doing this with a 12" knife just seems like the wrong tool for the job.
Thoughts on something like this?
One of the users below broke down the best way to do everything: bring everything you need into the room and plastic yourself in the room. Complete sanding and clean up, give some time for the dust to settle and then exit the room. I would even leave your barrier up and sealed after you leave and just tell the home owners to leave it up for a few hours while the dust settles.
One of the major problems I see that you’re up against is that you applied the hot mud excessively in most of the areas. Sanding hot is a bitch so if you’re just rolling in there with hand sanding blocks it’s going to be a nightmare. Generally I would recommend renting a power sander with a vacuum attached to it. That will make grinding the hot mud down easier and also alleviate the problems with the dust. And these power sanders / vacuums can be rented at most of the chain hardware stores. The problem with this idea is that if you aren’t experienced with a power sander you can really make a mess of your taping quickly. Personally I would purchase one of these:
Put a vacuum bag in your shop vac and thoroughly clean out your filter before entering the house. This will make it so the filter doesn’t clog and the dust isn’t pouring out the back, attach this sander to your shop vac and go to town. That should ease the pain of sanding hot mud and greatly reduce the amount of dust created. Then follow the aforementioned steps the other user offered.
Mesh sandpaper is metal, regular sandpaper is paper backed, plus some are foam backed.
Mesh paper really scrubs high spots., And because it's porous you can hook it up to a vacuum + adapter.
https://www.amazon.ca/3M-99436-Drywall-Sanding-220-Grit/dp/B000CP0QWU
This is what I'm working with now but the buttons stick on both of them so they're not responsive a lot of the time. I might just have to tare them apart after work one of these days and clean the switches. I just never feel like it after 10 hour days.